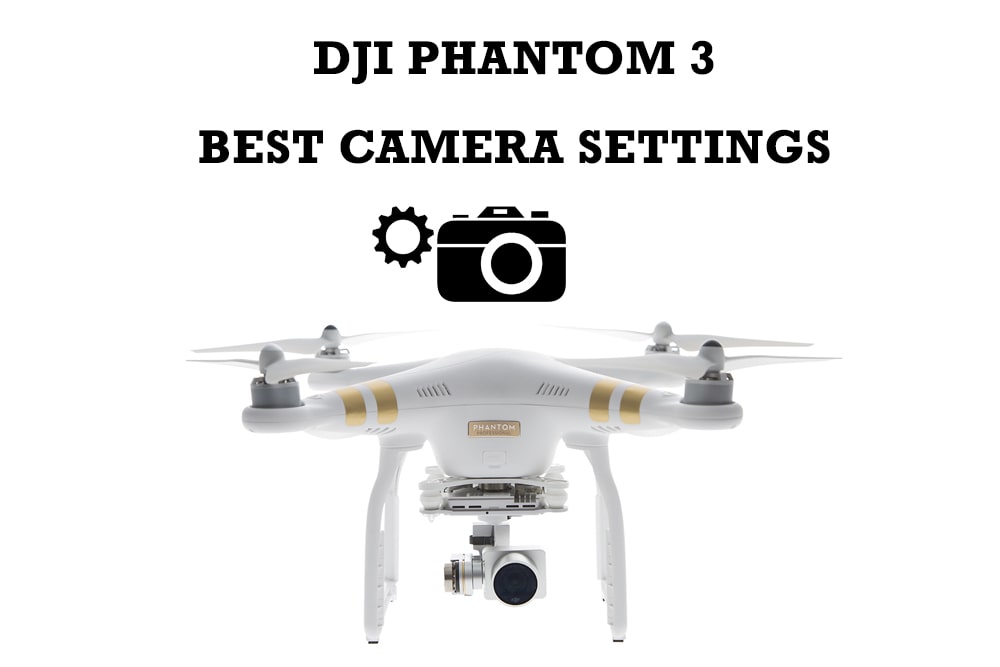
It can be difficult to know exactly what kind of image of video settings to use when flying your Phantom 3 drone. Whether your just a hobbyist or novice photographer/videographer, Phantom 3 is a beginner-friendly yet highly in-depth and professional-grade drone. The Phantom 3 allows for truly impressive and full-featured customization of all image and video settings you could ever need. Without further ado, here are the options you’ll want for the best shots!
Before diving in, why are these image and video settings so important? The world is dynamic and there’s rarely if ever a “one-sized” fits all solution to settings. That’s mostly because camera’s work differently than our eyes. Therefore, your Phantom 3 can’t adjust for different light conditions the same way your eyes can.
Imagine you’ve lined up the perfect shot that you’ve been working hard to get. Your battery is running out, you need to fly back. As you snap your picture or take a quick video, you have a slight breathe of relief. Finally, you think, that shot is going to look so cool! You land your Phantom 3, load up the image, and drum roll, please. It sucks.
What happened? You first begin to think, there’s a reason professional photographers get paid so much. Little did you know at that moment. Some quick changes to your camera settings could have been the difference between just another picture, and a stunning picture. This tutorial will show you how to get the best quality shots.
Image/Video Format
First of all, and most importantly, you’ll want to make sure your Phantom 3 is taking pictures in a RAW format. Why? RAW images include all data captured by the camera. Other formats introduce compression and leave out some data. This will be important if you need to edit in post since you’ll want as much original data as possible to make your effects look good. Say for example you overexpose a spot in the picture because of your camera settings. No worries because that can be edited and still look good if it’s in a RAW format.
Manual Mode ONLY!
The next most important step is to make sure you’re shooting in manual mode. That means flying manually and setting your camera settings to manual as well. Don’t let the drone tell you what’s best. Only you can make that decision. Additionally, while auto settings for cameras tend to be okay, they sometimes just don’t work out and you’ll be left disappointed.
Rule of Thirds
The absolute most basic advice any photographer worth their salt will give is the rule of thirds. This means balancing your picture so the subject fills one-third of the area of the image and is not centered. This creates a grid-like pattern overlay on your screen and helps you focus on better shots. Turn this feature on in settings and you’ll notice that your pictures begin to look more like professional shots more and more. In essence, these features will help you line up shots and make sure the picture is balanced.
ISO and light brightness
The next setting to consider is the ISO. We’re going to ignore the technical background for now. All you need to know is that ISO relates to light exposure. The lower the ISO, the higher your camera’s sensitivity to light and vice versa. So, if you’re shooting a video at dusk, for example, you’ll want a lower ISO. That means higher sensitivity to light, so your camera’s sensors are letting in more light. The same is true is you’re shooting on a bright and sunny day. Set your ISO higher to something like 800 or 1600 and notice how the image becomes slightly darker but more realistic.
Shutter Speed
Next up is the shutter speed, or how long your camera’s sensors are exposed to light for the picture or video. For pictures, the Phantom 3 uses a psychical shutter while videos use a digital one that shuts on and off during the video. Let’s say you’re shooting at 30fps (the resolution doesn’t matter here). You’ll want to double the fps by setting your shutter speed to 1/60. Keep in mind this will require the use of an ND filter, that you can read more about here. As for pictures, you can set your shutter speed lower to capture more light for every shot. For example, if you’re taking a picture of waves and trying to show motion, you’ll want a lower shutter speed to capture more light for the shot. Same with long exposures of the stars or other “moving” shots.
White Balance
This feature has to do with the color of light that your sensors pick up on. Take for example the color of warm yellowish lights inside a room. This light has a higher concentration of yellow as compared to blue outside. Some people may also call the yellow a “warmer” setting and blue the “cooler” setting. The main take away here is to leave this feature as default while filming or taking pictures and adjust or edit this in post. Choosing a warmer color makes for a more cinematic look. Either way, you’ll need to play around with the settings to decide what looks best.
AEB 3 of 5
The Phantom 3 naturally takes pictures in a series of three’s. You can also set the camera to take 5 pictures at once. The goal here is to overexpose and underexpose the same image. The hope is that one image will be “correct”. You can also combine these images later to create an HDR image. Essentially, HDR is the average combination of each individual image. This tends to result in well-balanced images. That’s because it’s like combining opposites together for the best average. With this in mind, it’s generally better to have more “samples” for the best HDR average. So, we recommend going for 5 instead of 3. Keep in mind this will result in more storage space being taken up and more files to play around with later.
Check out this useful video on the best DJI Phantom 3 camera settings:
Those are the most important settings to start off with. In all situations, you’ll likely need to get used to changing a few on your own as each situation can be different. After some time, you’ll get a hang of it quite easily. Just remember the most important tip. Take pictures and record videos in a RAW format. No matter what settings you choose, you’ll be given a version without any kind of filters applied so you’ll be able to edit in post-editing later if necessary.


